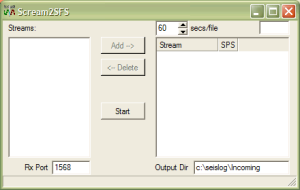
Scream2SFS operates from a single window, which is initially empty:

By default, Scream2SFS will listen to network traffic being broadcast to port 1568. You can change this port number by altering the value in the Rx Port box.
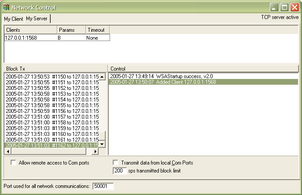
To set up a Scream! server to push data, open the My Server tab of Scream!'s Network Control window, right-click in the Clients list, and select . Enter the numeric IP address and port of the computer running Scream2SFS, separated by a colon.

In this example, Scream! is transmitting to a copy of Scream2SFS running on the same computer (127.0.0.1:1568). Any streams it receives will be passed on to Scream2SFS.
You can also run Scream! servers on Güralp DCM units. See the unit's documentation for more details.
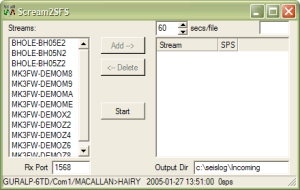
Streams should start appearing in the Streams panel of the Scream2SFS window:

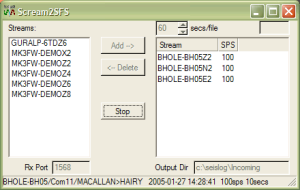
Select the streams you want to convert, and add them to the right-hand panel by clicking , or by double-clicking on them. The order that the streams are added will determine their order in the SFS file.Once added, a stream will no longer be listed in the Streams box.
In the Output Dir box, enter the directory where you want SFS files to be saved. If the directory does not exist, it will be created when you start recording.
The SFS file format includes space for a user-specified string, intended to identify your seismic network. To set this string, enter a value in the box at the top right of the window.
By default, Scream2SFS will start a new SFS file every 60 seconds. To change this, alter the value in the secs/file box.
When you are ready to start recording, click .

SFS data will be saved until you close the program. Scream2SFS will save its settings in a Scream2SFS.ini file in the program directory, and reuse these when you next run it.
To start Scream2SFS automatically on reboot, add a shortcut to the program file to the Startup folder on Windows' menu. See the Windows documentation for more details.
Whilst recording, Scream2SFS displays information about the GCF blocks being received in the status bar at the bottom of the window.